
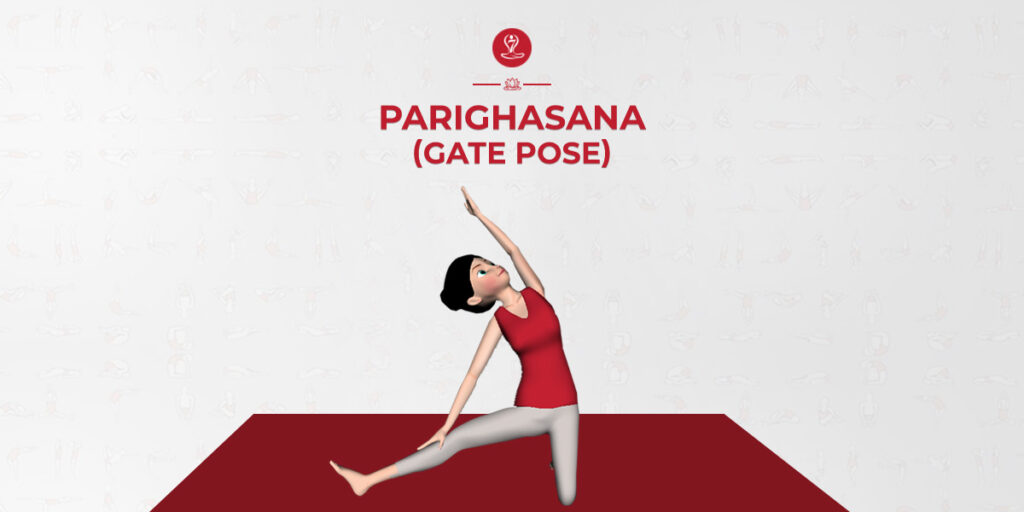
Gate Pose is widely recognized as Parighasana in Sanskrit language and is also known as Beam Pose. This kneeling pose provides an opportunity to breathe into your side body; Also, the muscles of the armpits, shoulders, thighs and both sides of the back get stretched. Gate pose is also a great way to make the spine flexible.
Parighasana Basics
| Sanskrit Pronunciation | Parighasana (par-ee-GOSS-anna) |
| Meaning | ‘Parigha’ means ‘the bar used to close the gate’ ‘asana’ means ‘pose’. |
| Pose Type | Stretch, Side-Bend, Balance |
| Pose Level | Beginner -level posture |
| Style of yoga | Hatha Yoga |
| Other Names | Gate Pose, Beam Pose |
| Stretches | Abductors, back muscles, hamstrings |
| Strengthening | Hip flexors, quadriceps, and side body |
| Duration | 30 second to 3 minutes |
Meaning
Parighasana’s name is derived from the Sanskrit word “Parigha”, which means door in Hindi and ‘asana’ means ‘pose’. In Parighasana, the posture of the body becomes like the lateral bars of a gate, and hence it is known as the gate pose.
Parighasana was not known before the 20th century; Since, as yoga scholar Mark Singleton writes, it is similar to the postures used in modern gymnastics, such as in Niels Buch’s 1924 Elementary Gymnastics, it is likely that Krishnamacharya, the father of modern yoga, also used asanas for his time. That’s what was done. Whether this posture was taken from general gymnastics culture, however, is not clear.
In the final position of Gate Pose, it appears like an iron beam that is used to close an iron gate. That is why this posture is called beam posture. Gate pose has many benefits including healthy spinal position, boosting energy and fighting fatigue, improved posture, stretching the adductor muscles, hamstrings and calf muscles, etc. It also strengthens your hips and front of thigh and your lateral body.
Practice Guide For Gate Pose
The practice guide to perform Gate Pose serves as a valuable resource for yoga enthusiasts seeking to advance their practice, offering a structured and detailed approach to mastering this asana.
Preparatory Poses
- Bound Angle pose (Baddha Konasana)
- Virasana (Hero Pose)
- Downward-facing Dog Pose (Adho Mukha Svanasana)
Step To Do Gate Pose (Parighasana)
- First, stand your body by kneeling on the floor.
- Now, spread your right leg out to your right side and press your foot flat on the floor. so that right knee towards the sky/ceiling. (Make sure your right leg should be parallel to your kneeling knee)
- With inhalation being to extend your left arm up and close to your left ear. (keep the palm facing either up or down) the shoulder blade should be firmly pressed against the back.
- Exhale and turn to the right side, the chest should be perpendicular to the floor. placing the right palm down on the right leg.
- Look at the sky by keeping the back of your neck long.
- Breathe and hold for 5-8 breaths.
- As long as you are able to keep your body in this position, let it remain like this for a long time and then come back to normal.
- To perform this mudra it is necessary to maintain a balanced body which is not possible at first. If you practice Muarasan regularly, you will definitely be able to do it easily.
- Initially, do this easy once, slowly practice it regularly according to the capacity.
- To come out, inhale extending out through the top arm and come back to the center.
- Repeat the stretch on your other side.
Beginners Tips
- If you feel any pressure on the knees, you can eighter use a folded towel or blanket under the kneeling knee.
- Beginners can use, it to perform this pose eighter against a wall or raise the ball of the foot.
- Adho Mukha Savasana and Vajrasana can be practiced prior to this for better results.
Follow Up Pose
- Extended Side Angle Pose (Utthita Parsvakonasana)
- Triangle Pose (Trikonasana)
Benefits of Gate Pose (Parighasana)
- Stretches the body: Gate Pose primarily stretches the sides of the body, including the arms, rib cage, abdomen, waist, and thighs. This helps in increasing flexibility and mobility in these areas.
- Improves posture: Regular practice of Gate Pose helps in lengthening and aligning the spine, thus improving overall posture. It also strengthens the muscles along the spine, reducing the risk of back pain.
- Opens the chest and shoulders: As you reach your arm overhead in Gate Pose, it helps to open up the chest and shoulders, improving lung capacity and facilitating better breathing.
- Strengthens the core: Holding the body in the lateral position in Gate Pose engages the core muscles, including the obliques and transverse abdominis, helping to strengthen and tone the abdominal muscles.
- Enhances digestion: The gentle compression of the abdomen in Gate Pose can help stimulate digestion and relieve digestive discomfort. It massages the internal organs, promoting better digestion and elimination of toxins from the body.
- Improves concentration and focus: Like many yoga poses, Gate Pose requires concentration and focus to maintain balance and alignment. Regular practice can help improve mental clarity and focus.
- Balances energy flow: In yoga philosophy, it is believed that certain poses help to balance the flow of energy (prana) throughout the body. Gate Pose is said to activate the Manipura (solar plexus) chakra, which is associated with willpower, self-esteem, and vitality.
- Prepares for deeper stretches and twists: Gate Pose serves as a preparatory posture for deeper stretches and twists. It helps to warm up and loosen the muscles along the sides of the body, making it easier to move into more advanced postures.
Precautions
- Avoid this asana if you have any serious knee injury, kneeling may be impossible. to perform this asana you could sit on a chair. instead of kneeling down
- If you are suffering from back, neck pain, and chronic knee injury or inflammation should avoid
practicing Parighasana. - Do not do this asana even if you have stomach ulcer problems or any kind of operation.
Conclusion
Parighasana is a kneeling side bending beginner level pose of Hatha Yoga pose. It focuses on a ‘lateral stretch to the sides of the body and upper body; along with stretch to legs, hips, and core muscles. It helps in keeping the spine strong, stretching and contracting the deeper muscles as well as releasing the stiffness in the lower back.